Installing a Plex Media Server on Raspberry Pi is a cost-effective way to enjoy the benefits of Plex. Plex Media Servers are a great way to store and organize all your digital media. Plex server allows you to neatly organize your TV shows, movies, and other digital media so you can easily access them through different devices like phones, tablets, laptops, streaming devices, and even Smart TVs.
Plex Media Server on Raspberry Pi
If you are looking for a cheap and reliable device to serve as your Plex Media Server, then look no further because Raspberry Pi is one of the most affordable pieces of hardware out there. It costs around $45 for the latest Raspberry Pi 4 model. Installing Plex Media Server on Raspberry Pi can be a bit tricky because it involves using Linux commands, but we’re going to make it extremely easy so everyone can set up a server on their Pi without any issues.
Here’s what you need to get started.
Things You’ll Need to Install Plex Media Server on Raspberry Pi
Here are all the things you will need to set up a dedicated Plex server on a Raspberry Pi.
- Raspberry Pi 3 or 4
- A MicroSD card
- Power supply for Raspberry Pi
- Ethernet Cable (Optional)
- External storage like a USB drive
- Powered USB hub
It’s also better that you get a plastic case and a heatsink for the Raspberry Pi as the plastic case will keep your device protected while the heatsink will ensure that it doesn’t overheat, even under heavy usage.
Also, you need to ensure that your Raspberry Pi comes pre-installed with the Raspbian OS. Or, you can install the Raspbian OS yourself. It’s quite easy, all you have to do is download the Raspbian OS and install it on the MicroSD card. Plug the card into the Pi, and you’re good to go.
Check out the official installation guide for more help with installing Raspbian OS.
Now, it’s time to install Plex Media Server on Raspberry Pi.
Install Plex Media Server on Raspberry Pi
First of all, make sure that your Raspberry Pi device is completely updated. Run the following commands to update the device:
sudo apt-get update
sudo apt-get upgrade
It will ask you to provide the administrator/root password, so enter the password.
After you have fully updated your device, you must install the “apt-transport-https” package. This package allows Plex Media Server from a secure HTTPS source. Use this command:
sudo apt-get install apt-transport-https
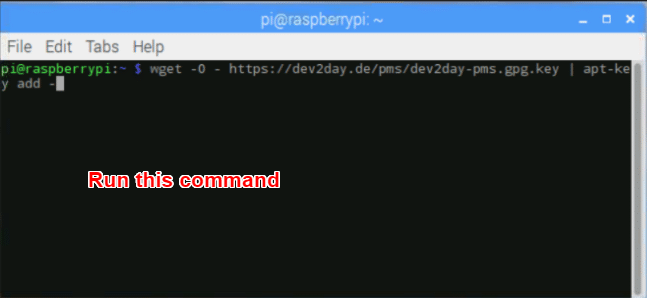
Now you need to add the crypto key for the dev2day website which is the official Plex packages website. Run this command:
wget -O – https://dev2day.de/pms/dev2day-pms.gpg.key | apt-key add –
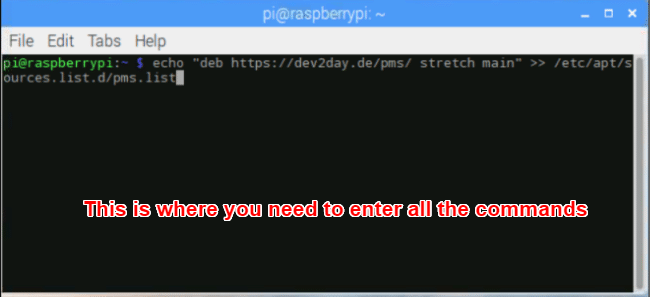
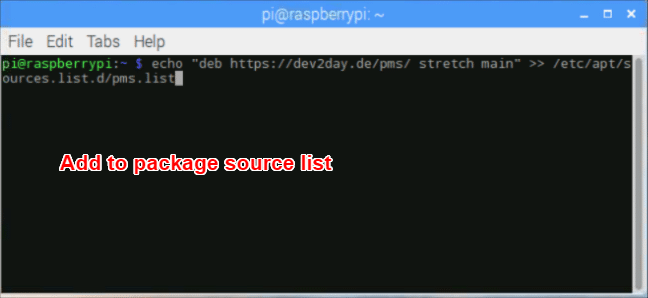
Use the following command in order to add the dev2day repo to the source list:
echo “deb https://dev2day.de/pms/ stretch main” >> /etc/apt/sources.list.d/pms.list
You have successfully added the dev2day repository. Now, it’s time to update the package list:
sudo apt-get update
Great!
You are ready to install Plex Media Server on Raspberry Pi. Run the following command:
sudo apt-get install plexmediaserver-installer
This command will install the Plex Media Server on Raspberry Pi. Once the installation is finished, you just have to take care of minor permission issues. Here’s how to do so.
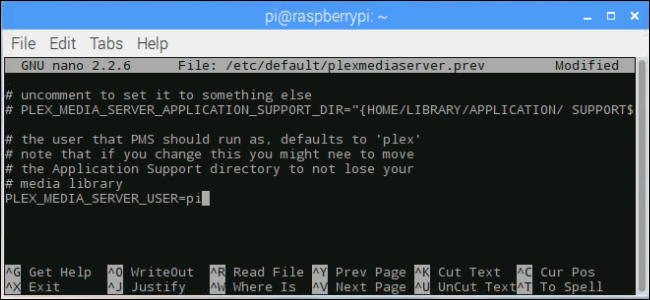
To make sure that there is no permissions issue, it’s recommended to run Plex under the Pi user. Use the following command to do so:
sudo nano /etc/default/plexmediaserver.prev
This will output the following line:
PLEX_MEDIA_SERVER_USER=plex
In the above line, change “plex” to “pi” and then press Ctrl+X to close the file. When it asks to overwrite, choose to save and overwrite the file to keep your changes.
If you want to access your Plex Media Server remotely, then you need to assign a static IP to your Raspberry Pi. Here’s the command to do so:
hostname -I
This will show you the current IP, note it down.
Use the following command to open the cmdline.txt file:
sudo nano /boot/cmdline.txt
At the bottom, type in the following:
ip=The IP address you noted down.
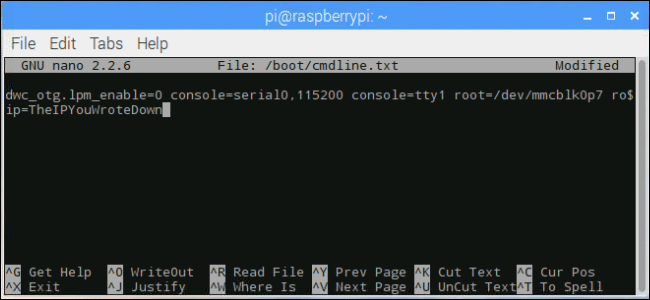
Then hit Ctrl+X to save and close the file.
Restart the Raspberry Pi using this command:
sudo reboot
Congratulations! Your Raspberry Pi is now a fully functional Plex Media Server. You can head over to Plex.tv/web via any browser that you like, and this will associate the server to your Plex account.
You can now explore all your media files and add them to your server so you can access them from anywhere with the Plex app. If you run into any issues or have any questions, then feel free to comment below and let us know.
Dilawar Hussain is a tech-enthusiast, hardcore gamer, and also a certified digital marketer with a serious knack for writing. When he’s not writing for one of his own publications or clients, he’s most likely helping out other freelance writers or wooing potential clients. You can visit him at https://dilawar.me.
Outdated!
Verbindungsaufbau zu dev2day.de (dev2day.de)|45.83.105.96|:443 … verbunden.
E: This command can only be used by root.
HTTP-Anforderung gesendet, auf Antwort wird gewartet … 404 Not Found
2020-11-03 02:01:01 FEHLER 404: Not Found.
You need Root permission to use this command. Try using “Sudo” before the command.
the above command left a message that first connected, and then said error 404: not found
i used sudo before
How does control of the media server work – do I need to keep a mouse and keyboard around or can my TV remove serve as a point and click device??
https://www.rutmanip.com
This is what I get.
E: Unable to locate package plexmediaserver-installer
Has things changed?